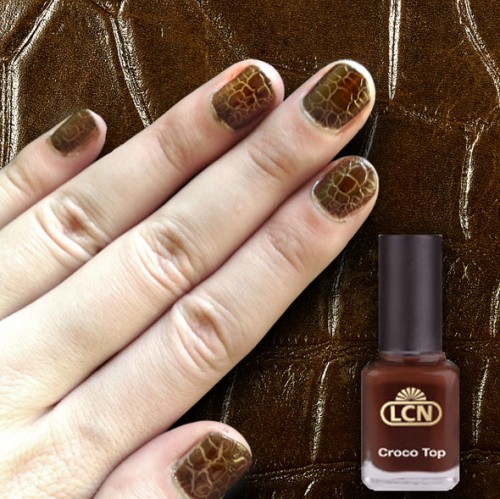
Honestly, my first reaction to this trend was “WTF?” But I was intrigued, so I got my hands on a set and let me tell you: croco nails aren’t easy to accomplish but so worth the bottle of nail polish remover you’re going to go through – and maybe after some learned tips from me, you can avoid my nail painting pitfalls.
I happen to like LCN nail polish. It’s smooth, covers well and goes on easy. To get the Croco effect you have to follow the instructions for real. I’m serious. So after you apply a base coat, apply regular LCN polish of any color. Whether you use one or two coats doesn’t matter. What does matter is that you wait four minutes for your nails to dry. If your nails are too dry or too wet, the croco effect will be distorted. Once four minutes is up, apply the croco top color in quick strokes all going in the same direction. Thinner strokes will give you a small croco pattern, while thicker strokes will give you a bigger croco pattern. The croco top polish covers really thick so remember you’re going to need much less than you think.
The coolest part about applying the croco top is watching your nail transform in front of your eyes. At first it looks like you just applied a second or third coat, but once the polish starts drying, your nails begin to get all croco leather-like. It’s pretty awesome. Wait another five minutes for your nails to dry and then apply a top coat. You’re all set.
The only con to this polish is that it takes forever to take off. You need like industrial strength nail polish remover. But other than that, I’m loving this look for late winter/early spring.


