DIY 2 Week Manicure (all the intel you’ll need to make it last)
A lot of my friends ask me how I get my polish to last as long as I do— what nail salon do I go to? What polish am I using? What secret topcoat is my sauce of choice? The truth is, most of the time I do my own nails at home because it’s just easier and I know how to really make them last (which is saying a lot because I type all day long). The perfect 2 week manicure boils down to a few key ingredients:
-Good nail tools
-Proper lighting (if you can’t see properly how can you groom and paint?)
-Top notch nail polish
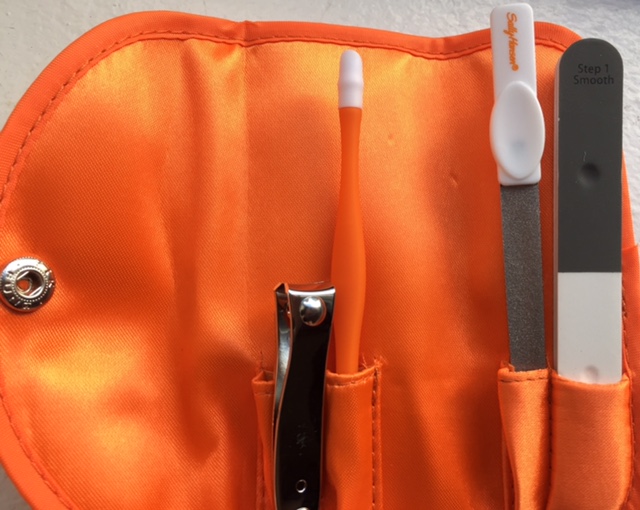
I really like the Sally Hansen line of grooming tools because they’re precise, easy to use and work with, and mega affordable. I’m also a huge fan of their gel polish line because it lasts like a champ, doesn’t require a UV light of any kind, and dries quickly to a shiny finish.
So here’s my step-by-step 2 week manicure formula.
Start with clean nails. Use acetone on a clean cotton swab to wipe off any remnants of old polish, and then rinse with soapy water (even if you don’t have old polish on it’s important to rinse any debris or even nearly-invisible dirt off your nails to get the longest-lasting adhesion of the new polish).
2. Use the file from the Sally Hansen Fabulous Fingernails to shape nails gently.
3. Use the buffing file from the kit to gently buff out any imperfections, ridges, bumps, or spots where nails have peeled. I really love this buffing file because it is clearly numbered, making it a foolproof choice for even nail-doing-newbies.
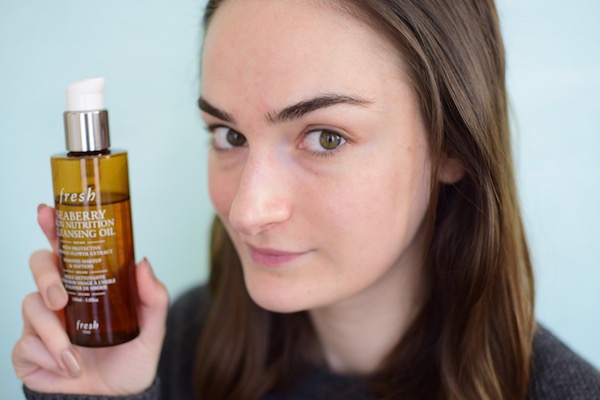
4. Apply any oil you may have (nail oil, even coconut oil from your kitchen) to your cuticles and allow them to sit for a few minutes. Use the pushing tool gently to push back overgrown or messy looking cuticles.
5. Use a cotton swab with acetone one more time to wipe off any excess nail filings or oil left behind.
Now you’re ready to paint (this is the fun part!), so get your polishes out. I’ve been loving the Sally Hansen Gel Polish in Game of Chromes lately because it’s a chic metallic shade that picks up both gold and silver hues depending on the lighting.
6. Apply 2 even, medium thickness coats to each nail.
7. Apple 1 even, medium thickness coat of the Gel Topcoat formula. Remember to mildly coat the front edge of the nail bed so seal the polish in.
Allow 15 or 20 minutes for dry time. That means you can catch up on the news, loiter in your kitchen, or daydream of living on a yacht. Whatever suits your fancy.
Clean up any messy edges with a Q-tip dabbed in acetone, moisturize with a good mani-enhancing cream like Sally Hansen Salon Care Moisturizing Hand Cream.
Voila! You’ll have flawless nails for 2 weeks, perfect for the lazy beauty lover!
This post was sponsored but I really do care for my nails this way and love the products!


I neeeed this and you had me at SALLY HANSEN. hashtag AFFORDABLE 🙂
I just gave this polish a whirl and I love it. So easy.
What do you do after you push back overgrown cuticles……???
Excited to try this! I shellac like a mad woman and it’s really expensive