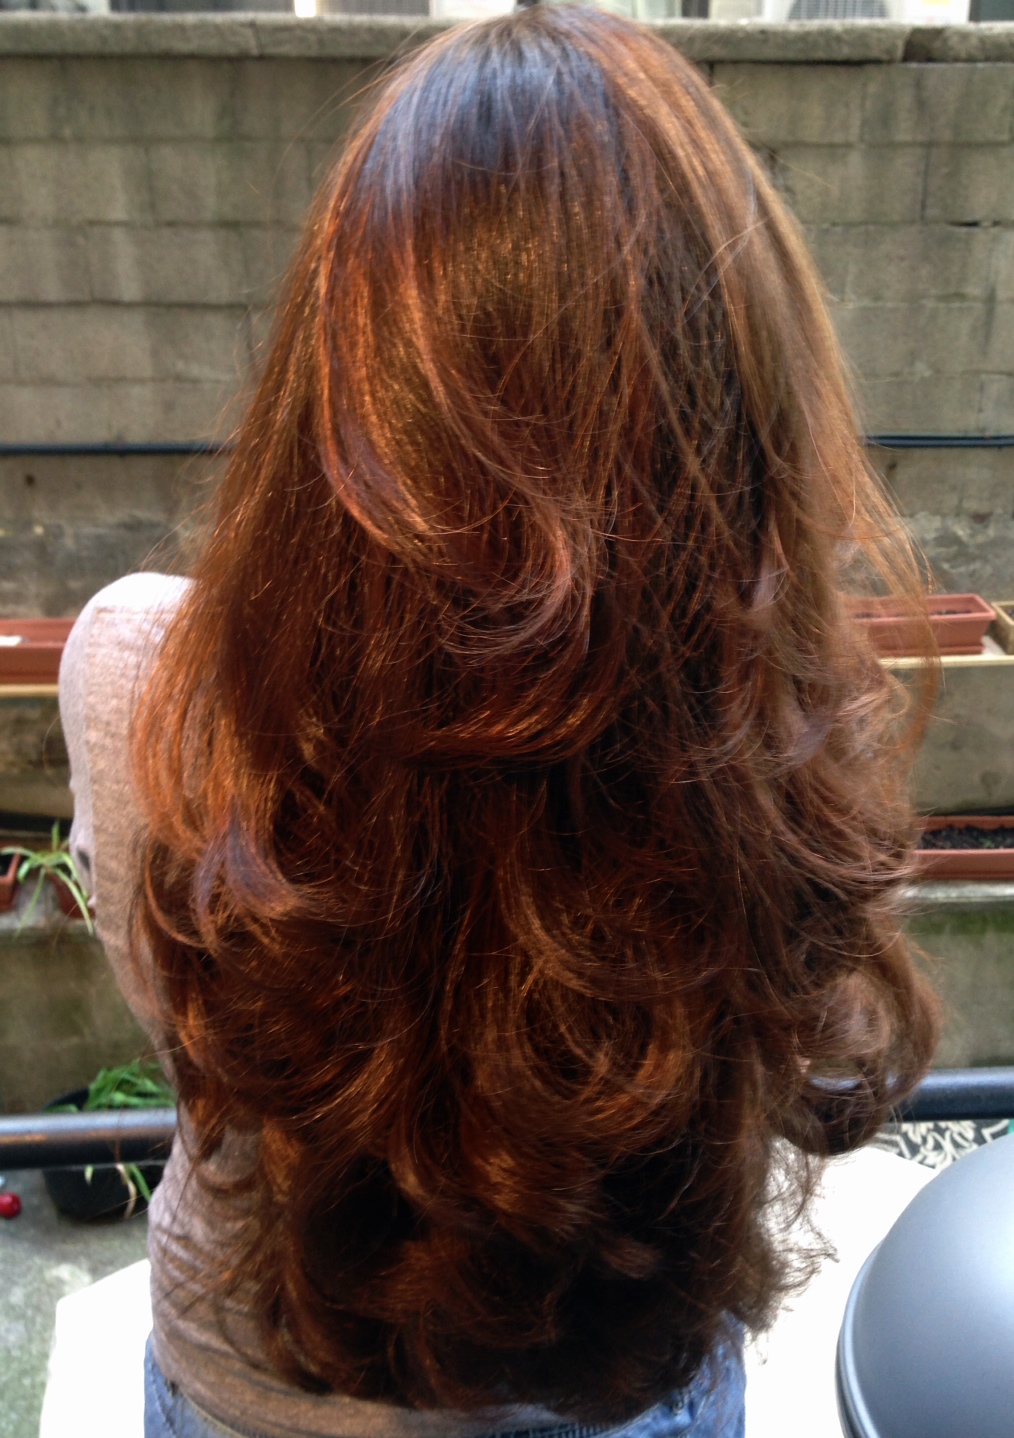


S wave hair is major right now.
Beachy waves will always be a thing. But, unlike loose curls mascaraing as wavy hair this summer you’re going to master S wave hair. This technique is easy to master and leads to a super natural looking wave, like you grew it yourself! Wearing this look is also a great, easy fix for greasy hair and can be edited to be a gorgeous middle part hairstyle, too.

The other thing to love about S wave hair? You can add as much or as little volume along with it as you like. So there’s none of that fingers crossed the curls drop funny business.
DIY S wave hair tutorial

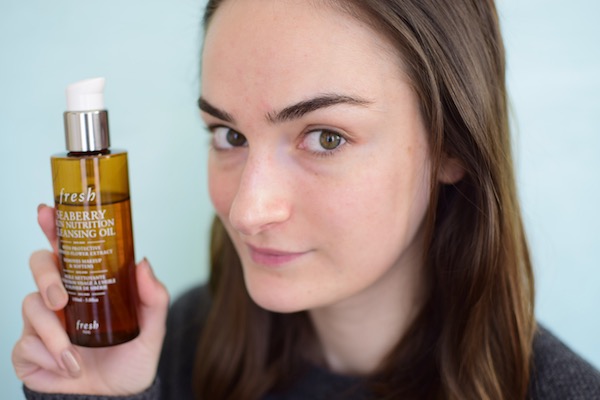
As every hair tutorial should, start with heat protectant. Give a good few mists through your hair and comb through.

To master S wave hair you need a little flat iron. This gorgeous guy is a GHD 1 inch flat iron.

We’ll be working with one inch-ish sections of hair. If you go for much larger sections your waves will be more relaxed. The smaller the section the tighter you can get that wave.

You’ll take the section and create bends, then iron them into place.

Create the bend, then clamp down to set the bend.

Give it a second or two then start bending the next section of hair in the opposite direction. You’ll create little S waves in your hair down the length as you go.

The result is a pretty, super simple wave! You can add as much or as little bend as you like to create your wave look.

Love this article? For more beauty, style, travel, and trending topics check out The Luxury Spot on Facebook. Like us and we’ll love you back!