Love the look of thick brows, but don’t have them naturally? No prob, Bob. Here’s how to fake ’em till you make ’em.
When it comes to brows, the last few years has taught us bigger is better. Naturally thick brows instantly give a more youthful appearance and are much softer than the super thin brows of the ’90s and early aughts. But not everyone has thick brows in their DNA (le sigh). If you want thick brows and aren’t interested in the Instagram eyebrow look, you’ll need to carefully apply the right brow product, so here’s how:

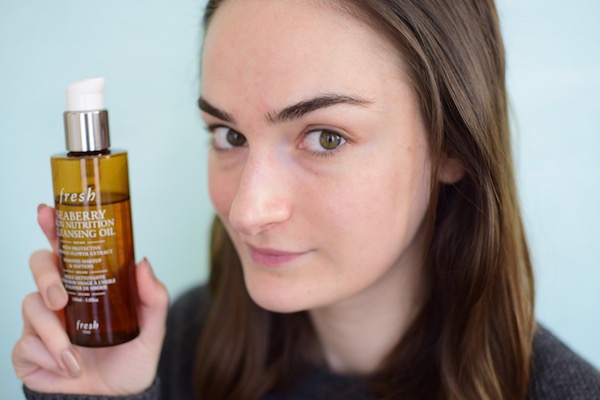
For your reference, this is what my brows look like sans makeup. I know I’m a bit #blessed already in the brow department, but we’re going for Brooke Shields/Cara Delevingne levels of brow for this look. The goal is to look like I have naturally thick brows on a super model level.
READ MORE: Makeup Tricks to Make Your Eyes Look Bigger

Comb Through Your Brows
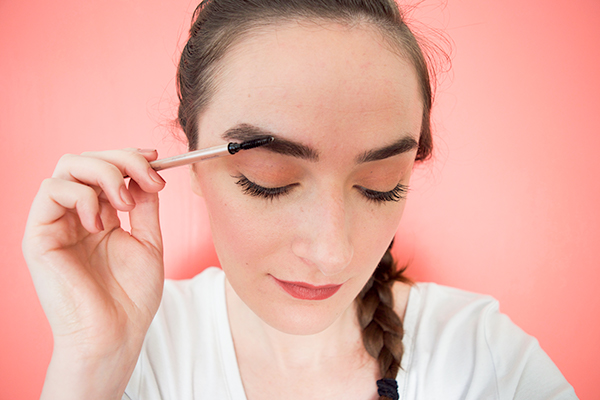
Start off by making sure your brow hairs are all going the same direction. You can do this by brushing through with a brow brush or clean spoolie. Brushing through lets you see if you have any bare patches, or areas that are thinner than others.

Fill In Sparse Areas
For me, the areas that need filling in to give the appearance of naturally thick brows, are the very front and through the arch/brow tails. I’m using the Jane Iredale Retractable Eyebrow Pencil in Dark Brunette.
Let’s chat about brow products and colors before we go any farther. I’m sure you’ve heard at some point that you should pick a brow product that is slightly darker than your hair if you are blonde, or slightly lighter if you are a brunette. I tend to go for dark brown brow products because my brows are already so dark. Using a lighter shade usually stands out or makes my brows look ashy. No matter what shade you go for, just make sure that the overall appearance works for you.
You can always go for a brow powder or pomade product, I just find them to be a little too harsh for the naturally thick brows look.

Brush And Draw In Hairs
After you’ve filled in the areas of your brows that are on the thin side, brush through again. This makes sure you don’t get any areas that are stuck together or too stiff. Now we can really get going on the naturally thick brows look. To get seriously natural looking thick brows you’ll need to draw in individual brow hairs. It’s why I like using a pencil with such a tiny nib (praise to Jane Iredale).
The placement of these hairs are important too. To make sure your brows aren’t over the top, choose to add hair either above or below your brows, but not both. My brows naturally tend to grow downwards, so I fill in underneath. This way I can brush my brow hairs down to cover the faux hairs I’ve added for an even more natural look.
 See the difference? I only did the brow on the left side and it looks much more naturally thick than the brow on the right.

And here is how it can go wrong. Remember when I said to add hairs either above or below? This is what happens when you do both. The brow on the right just looks heavy and fake which is not the idea of the naturally thick brows look. So, just choose one area to thicken up, trust.
Love this article? For more beauty, style, travel, and trending topics check out The Luxury Spot on Facebook. Like us and we’ll love you back!

