Love the monochromatic makeup look Kylie wears so well? Here’s how you can rock it.
Kylie Jenner has easily overtaken Kimmy as the Jenn-dashian to rule them all. Since the tail end of 2016 she’s been rocking a monochromatic makeup look in a variety of shades. Depending on what new Kylie Cosmetics launch is on the horizon she’ll be seen in makeup looks all focusing on one particular color. Sometimes it’s peach, other times beige, and sometimes it’s a gorgeous dusky pink. All of these looks are flawless, because how could they not be, and are totally possible to do at home.
All you need to recreate Kylie Jenner’s monochromatic makeup look are eyeshadows, blush, and a lipstick all in the same tone, and a decent chunk of time. We’re going to show you the whole shebang from start to finish because we know you want to know.

1. Prime Your Face.
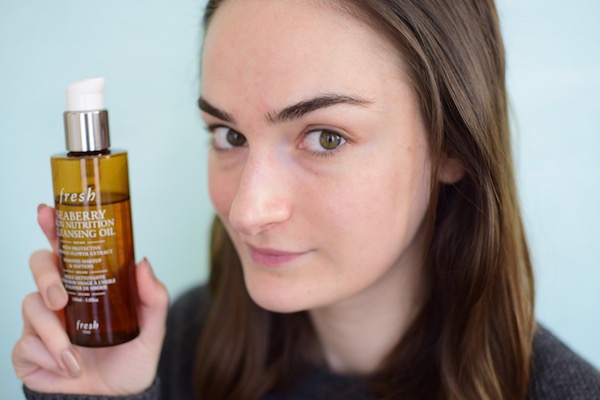
Just so we’re all on the same page, we’re starting off totally makeup free. Kylie always goes for the totally flawless face look so primer is needed to achieve that smooth base. Benefit The Porefessional Face Primer works well if you have large pores that need covering for this type of flawless makeup.
READ MORE: DIY Easy Emma Watson Makeup Tutorial

2. Base Conceal.
To get that perfectly flawless look, start with concealing first. Using an extremely high coverage concealer, this is the Kevyn Aucoin Sensual Skin Enhancer, cover what needs covering! In this case that means around the nose to cover redness, and inner and outer corners of the eyes to cover darkness.

3. Apply Foundation.
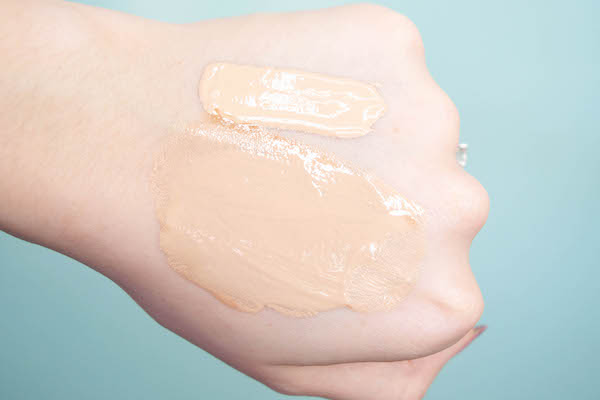
To get that flawless complexion, apply foundation with a sponge because a sponge will never give you streak marks. The goal is a high coverage, even, air brushed finish. To achieve this, it can take multiple layers of your foundation of choice. Keep piling on thin layers until your skin is perfectly uniform.

4. Kardashian Highlight.
It wouldn’t be a Kardashian/Jenner makeup look without triangle highlighting. Using a concealer a few shades lighter than than your base, create the triangle shape under your eyes. You can also highlight your nose, chin, and above the arch of your brows at the same time. Blend in all that concealer with your makeup sponge.

5. Bake Your Face.
To set your foundation, concealer, and keep that highlight going you’ve got to bake it all in. You are a cookie, a cupcake, a beautiful bakery princess that deserves all the baking. This just means taking way, way too much loose face powder and pressing it into your face. To get that highlight effect, use a powder lighter than your skin tone, and only apply it where you want to bring out. To make this process not as much as a crazy mess, you can use your dampened sponge to pick up the powder. Let the powder rest on your face for a few minutes while you get a snack because we’re not even halfway done.

After you’ve let the powder rest on your face for at least five minutes, flick it off with a large fluffy brush. You’ll be left with a velvety matte finish.

6. Fill In Your Brows.
Kylie tends to go for that rounded Instagram brow, in a very dark brown shade regardless of whatever color her hair is at the moment. Get the effect by using a dark brown brow powder and an angled brush.

7. Apply Crease Transition Shade.
Using a medium, warm brown eyeshadow and a large fluffy brush, apply a wash of color through your crease. The fluffy brush makes it easy to do this with a light hand. Follow the angle of your brow to get a slight cat eye effect, instead of following your crease in the rounded shape.

8. Apply Lower Lash Line Shadow.
Kylie goes ham on the lower lash line shadow and so shall you. Using a dusky pink shade, apply shadow to your lower lash line then follow the angle up to meet with your crease shade. This gives you the perfect outline for the cat eye effect.

9. Apply Outer Corner Shadow.
Using the same dusky pink shade, fill in the outer corner triangle. Blend this eyeshadow to mesh with your crease transition shade because Kylie would never be seen without perfect blending. The color should be most concentrated in the outer corner and gradually transition to lighter as you get closer to the center of your eye.

10. Apply Inner Lid Eyeshadow.
Next take a shimmering pink in the same depth to fill in the rest of your mobile eyelid. You want this shade to just have a little more oomph to it than the matte dusky pink.

11. Wing It Out.
Instead of going for a harsh black liner that would take attention from this soft look, choose a warm brown liquid eyeliner. Use that liner to line all the way from your inner corner out to a cat eye flick.

12. Apply False Eyelashes.
Use individual lashes instead of strip lashes to get a doe eyed effect, this way you have total control over how lashy you look. Use long individual lashes in the outer corner and transition into medium and finally short as you move inwards. This has nothing to do with monochromatic makeup in general, but it’s a signature part of Kylie’s look, so we went for it.

13. Contour Your Cheekbones.
While the lashes are drying you can finish off your base! Using a cool toned contour powder so you can fake a shadow, define your cheekbones. You can whole hog it and contour your nose and jawline too.

14. Apply Dusky Pink Blush.
To go for this monochromatic theme, apply a dusky pink blush just behind the apples of your cheeks. You don’t want the blush to get a lot of attention, but it should be visible enough that you can tell it matches the monochrome look.

15. Apply Mascara.
Once the eyelash glue has totally dried, apply mascara to both top and bottom lashes. You want the top lashes to look very dark, thick, and voluminous because lashy is in; a great mascara choice for this effect is the Pur Minerals Fully Charged Mascara.

16. Apply Dusty Pink Lipstick.
Finish this look by applying a dusky pink lipstick because monochromatic makeup is the name of the game here. Kylie is obviously known for her lovely large lips, so if you don’t have them, you’ll need to overdraw your lips. Don’t be scared to think outside the lip-lines, but, you know, keep it reasonable.

 After all of that you can pretend to be Kylie for a day, all it takes is a good hour and a half and about three total colors.
Love this article? For more beauty, style, travel, and trending topics check out The Luxury Spot on Facebook. Like us and we’ll love you back!

