Intricate Halloween makeup can be difficult to put on (and take off!), so I’ve broken it down into a tutorial for to make the start-to-finish look that much easier.
I chose this Ice Princess Masquerade makeup look because it’s so versatile- pair it with a frosty metallic dress to be Elsa, or black tights and a black mini dress with cat ears for a glammed-up sexy kitten look. I had my friend Monika Crouch, the makeup artist at Pierre Michel Salon in New York, help create the concept and design. If you’re ever in New York you need to head over to her for some makeup wizardry and know-how.
Here’s what I used to achieve the look:
- PONDS Towelettes
- Silver Mehron Makeup Powder (available here)
- Mixing Liquid (to turn the powder into a liquid paint)
- Gel Black Eyeliner (Buxom makes a great one)
- Makeup brushes
- Q-tips
- Art Stencils
- Rhinestones
- Eylure Eyelashes (particularly big, dramatic ones like these)
- Temporary Eyelash Adhesive
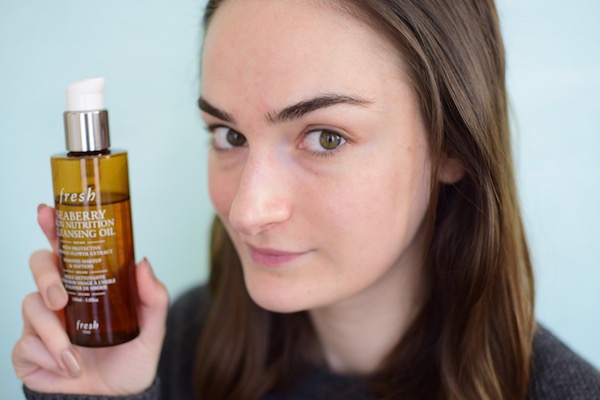
- PONDS Cold Cream Cleanser (for removal later on)
- Sparkly lipgloss
Step 1. Prep your face. I used a PONDS Towelette to remove all the grime and makeup I already had on. You’ll need a totally clean palette for this look to last!
Step 2. Mix your silver makeup powder with the mixing liquid to make a silvery paste. Use a brush to trace the outline of a mask starting about 1/2 an inch above your eyebrows and about 1 inch below your eyes. After you have the outline drawn, start to fill it in— just don’t get too close to your eyes! Leave a little space.
Step 3. Dab your Q-tips in your gel eyeliner and hold your floral stencils up to your newly-painted silver mask. Dab the black gel onto the stencils until black flowers appear. Do this all over the silver area, but leave room for a border along the edge.
Step 4. After you’ve jazzed up your mask with a bunch of black flowers, use another towelette to clear up the edges of the mask. Just trace the outer border to clean up any fallen makeup and weird bits of makeup your artwork may have left behind.
Step 5. Use a more narrow, elongated stencil with a delicate pattern to create a frame around the silver mask area. I chose a leafy border, but just about anything narrow will do.
Step 6. Using a makeup brush start to apply the gel black eyeliner all around the non-silver areas of the eyes. Cover your lids and lower lash line in black. Don’t be afraid to look like a professional boxer, it’ll end up looking sexy soon.
Step 7. Apply your big, faux lashes to both the upper AND lower lids. I know the lower lid seems counter-intuitive, but that’s part of the drama and flair of this look.
Step 8. Dab your rhinestones in a little of your temporary eyelash adhesive (you’ll need this even if you buy the rhinestones with the sticky backs— the face paint requires a little extra sticky oomph). Start to apply along the borders of your mask, and a few larger ones strategically below the eyes.
Step 9. Apply a pale, sparkly lipgloss and one rhinestone in the center of the lower lip.
Step 10. TAKE YOUR HAIR DOWN AND PARTY. (Just kidding, the hair tutorial is coming next!)
But seriously, go out and enjoy yourself with that wild and fun face makeup. When you get home at the end of the night be sure to cleanse the right way so your face doesn’t end up a smudgy mess. Here’s how I got all my makeup off in under 3 minutes:
- Remove all rhinestones and lashes by hand.
- Apply a thick coat of PONDS Cold Cream Cleanser (it dissolves all traces of makeup + moisturizes for soft, radiant skin)
- Use a konjac sponge soaked in warm water to start to sponge the whole look off.
(see my video below for the best way to do this)
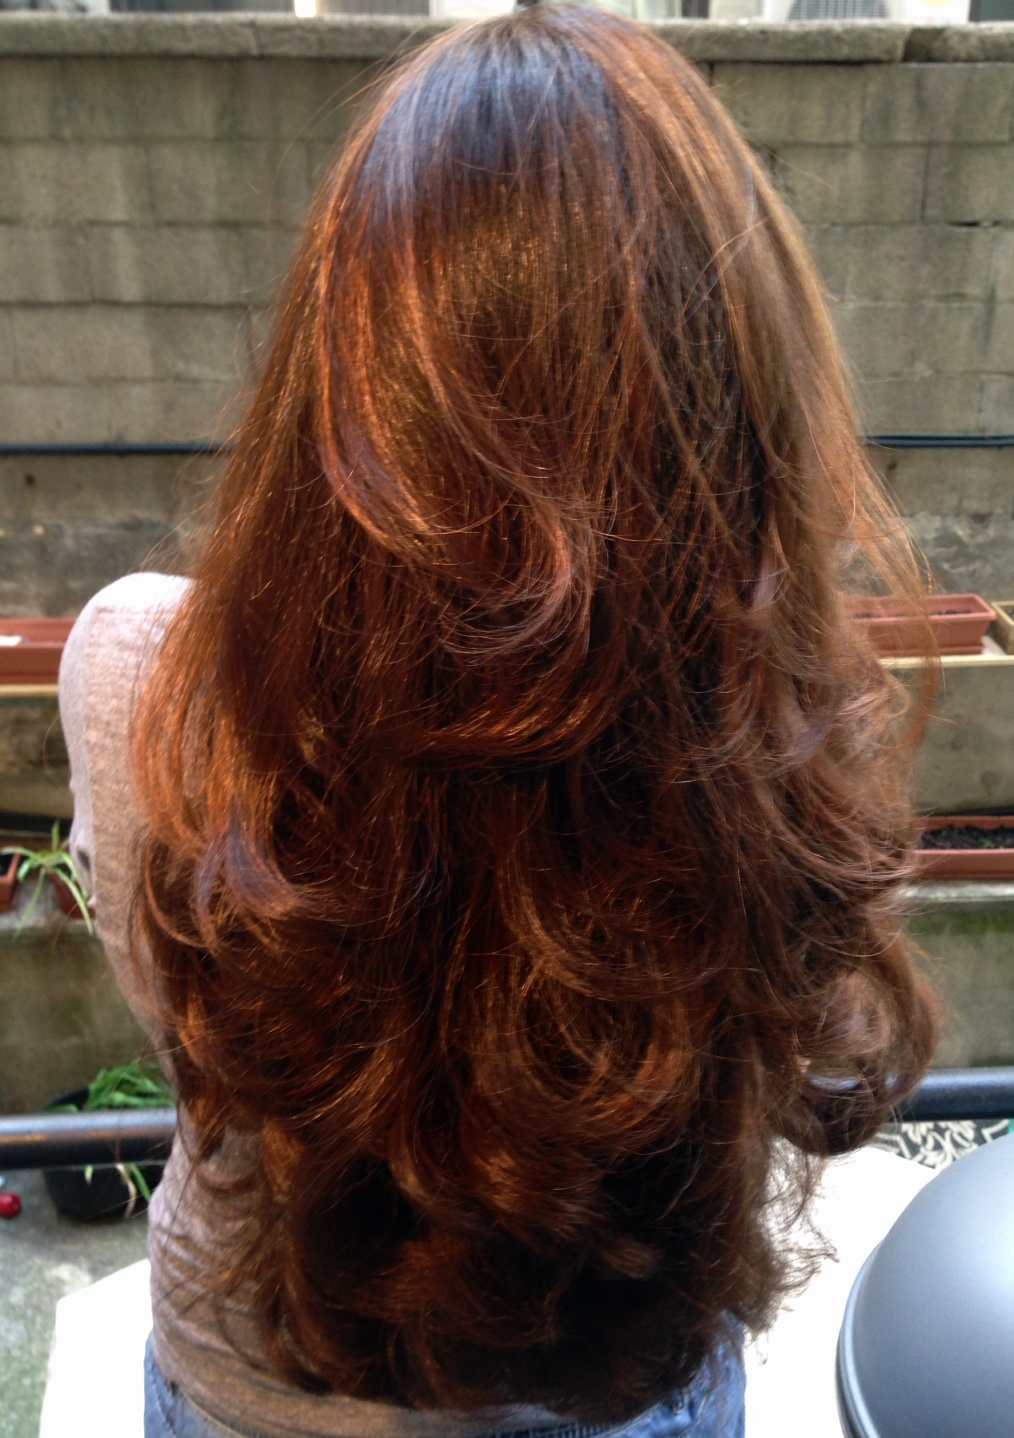
And if you loved the mermaid hair from the overall masquerade makeup look, check out the how-to video on achieving mermaid hair curls at home (thanks again Pierre Michel Salon!).
This post was sponsored by PONDS, but I’m really obsessed with the product line and use them in my real day-to-day beauty routine.


