

Cracked toenail? Don’t worry.
One long day and one dropped phone landing just right made me the proud new owner of a cracked toenail. I do kind of want to know the physics involved that had my phone fall at just the right angle to crack but not break my big toe nail. Since this monster is looking rough, I needed to fix this cracked toenail ASAP, and I’m adding this to my list of pedicure hacks.

And it popped off my nail polish too. Rude phone! This toenail crack is far enough back in my nail bed that I’ll need to let it grow out for quite a while before I can clip and remove it. To get my nail through the growth process I need to do an extra special cracked toenail pedicure.


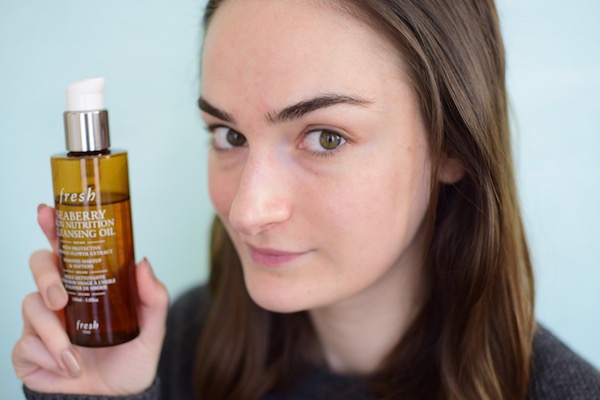
No wild tools needed here, just nail polish (base, color, and top coat) as well as a dry tea bag.

I started this pedicure like any other by removing dry cuticle with the Sally Hansen Instant Cuticle Remover. When you’re done cuticle removing, clean the nail of any gel left overs with a cotton round dampened with rubbing alcohol. This will get rid of any oils too, giving you a better surface to adhere the polish.

Next trim your tea bag to fit the cracked area of the nail.

First layer in this cracked toenail pedicure is the base coat. Put on a fairly thick layer and let it dry until tacky.

Then, place on your tea bag patch.

Press the patch into the tacky polish so it is very well adhered. You really don’t want bubbles or edges flying free because they can make the pedicure result lumpy. Lumpy polish is going to catch on your shoes and chip faster. We’re ideally avoiding any more damage to your cracked toenail so chipping polish is a no-no.

When the first layer of polish has dried, apply another thick layer of base polish, totally saturating the patch. Make sure this layer of polish is 100% dry before finishing up your pedicure. If you’re not the color nail polish-wearing type you can stop here or maybe add a matte top coat over to kill the shine. But seriously, this marble nails look is fun. Although your toe nail isn’t going to look perfect, the patch becomes nearly clear when incased in the polish.

Wrap it up with your color polish and top coat and you’re golden! Let the cracked nail grow until the crack is past the quick of the nail. When you finally get there, you can remove the cracked portion of the nail without damaging your nail or nail bed further.
Love this article? For more beauty, style, travel, and trending topics check out The Luxury Spot on Facebook. Like us and we’ll love you back!